Developing a brand and e-commerce experience from scratch.
Having established an idea for an e-commerce proposition, I wanted to develop a website to promote it.
Also... Lego.
The Lego "smile"
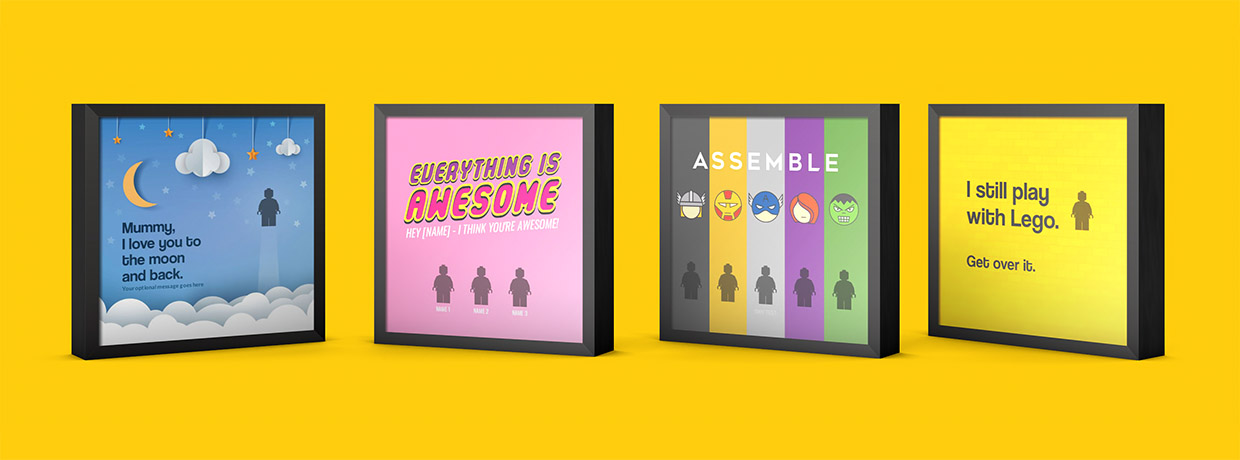
My aim for the logo (above) was to visualise what the actual products were on offer: Lego people in frames.
I felt having the Lego "smile" within an isometric frame was the perfect way to accomplish this.


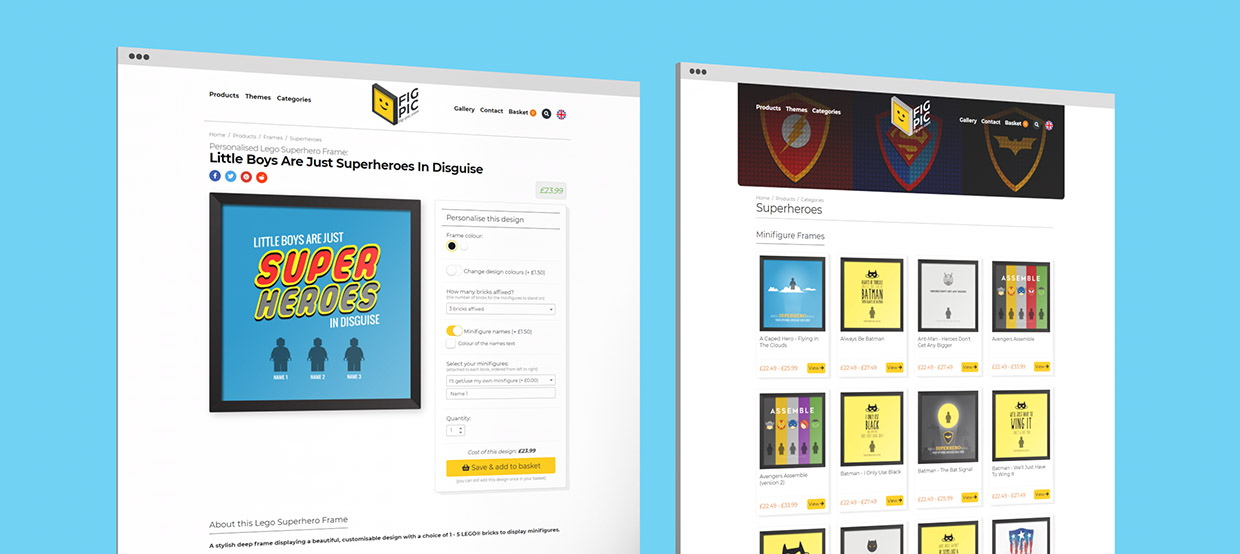
A great shopping experience
Whilst learning and understanding the best ways to create a great shopping experience, I included allowing the customer a complete visualisation of customisation to the products before purchase.
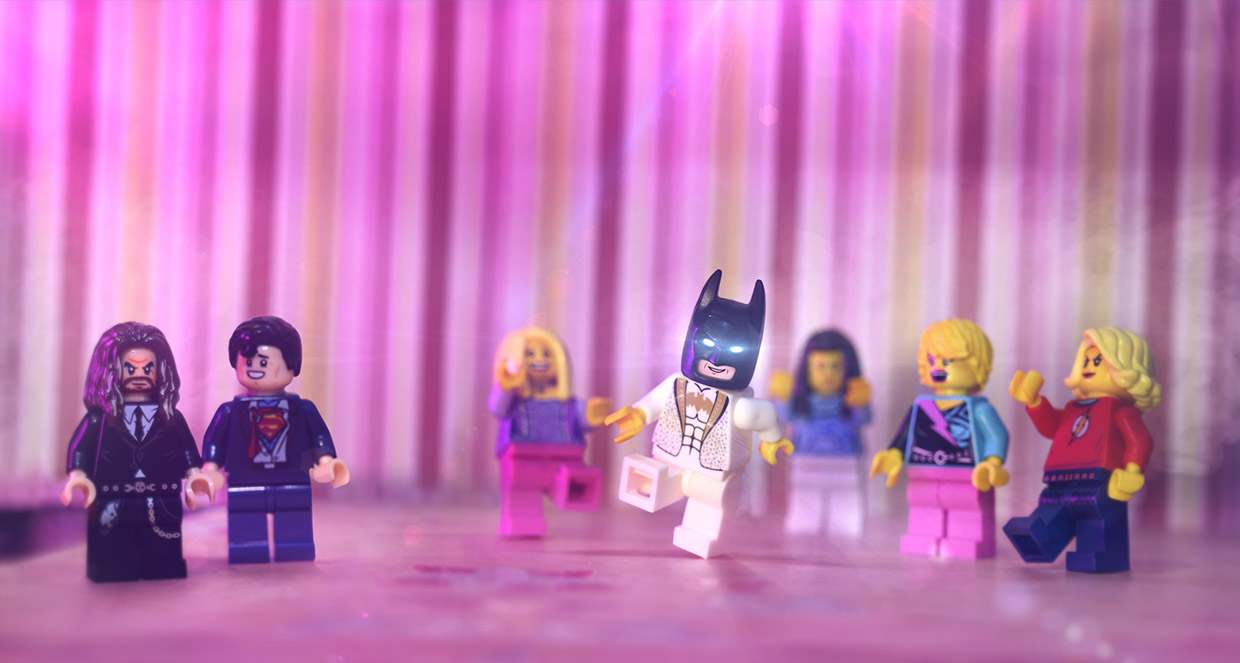
Competition winner
My winning entry (below) for a competition set by Brick Central - a LEGO photography community. The theme was 'party' for their upcoming birthday.
Google Ads & Facebook Shop integrations
Highly search optimised pages and the use of Google Ads and Facebook Shop integration saw much interest and many sales. In fact, due to time restraints, I couldn’t cope with demand, so for now I have turned off the purchasing functionality and have left it up as a demo site.
Simplistic basket and checkout
I wanted the buying experience to be as clear and simple as possible. Developing the whole shop from scratch was an enjoyable learning experience and taught me functionality and how best to interact with a user's PHP session. I integrated with PayPal for the payment process.


Mobile-first responsive design
It's pretty much a standard requirement these days - a website should adapt to the device it's being viewed on.
For the customisation functionality on the product pages, this became quite a challenge. I felt it was important to show the product changing as it was customised - but there is only so much "real estate" to work with on mobile. So I came up with a "sticky" frame area that would remain at the top of the page whilst the customisation settings were scrollable below (see screenshot below left).

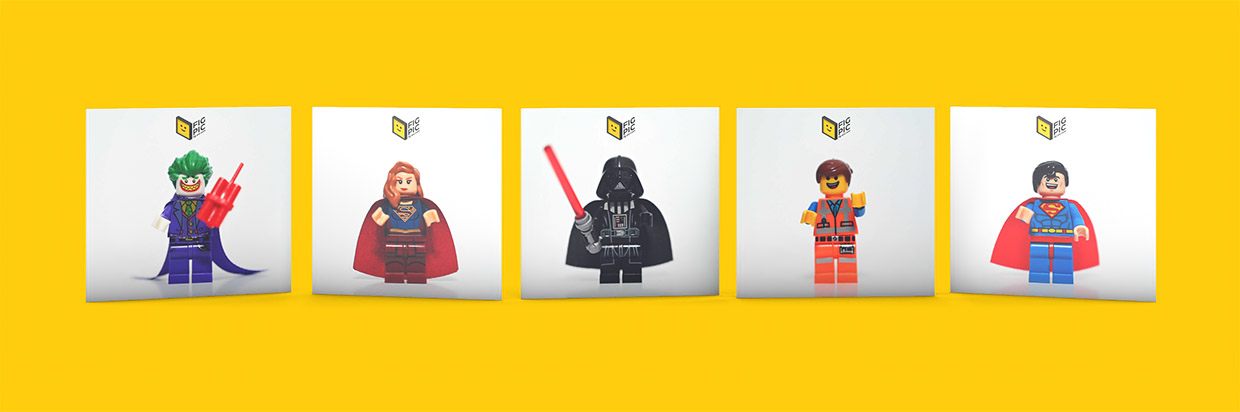
Product photography
All the photography was my own - and taking pictures of reflective things (like frames) wasn't particularly easy! In the end, I used a large piece of black card with a hole cut out in the middle, to then poke the camera lens through. It worked well to reduce the reflections, especially for the head-on shots.